In this comprehensive guide, I’ll walk you through the step-by-step process of generating tax reports on Binance. Whether you’re a seasoned trader or just starting out, understanding how to compile accurate tax reports is crucial. Join me as I demystify the process and equip you with the knowledge needed to navigate Binance tax reporting seamlessly. Let’s dive in!.
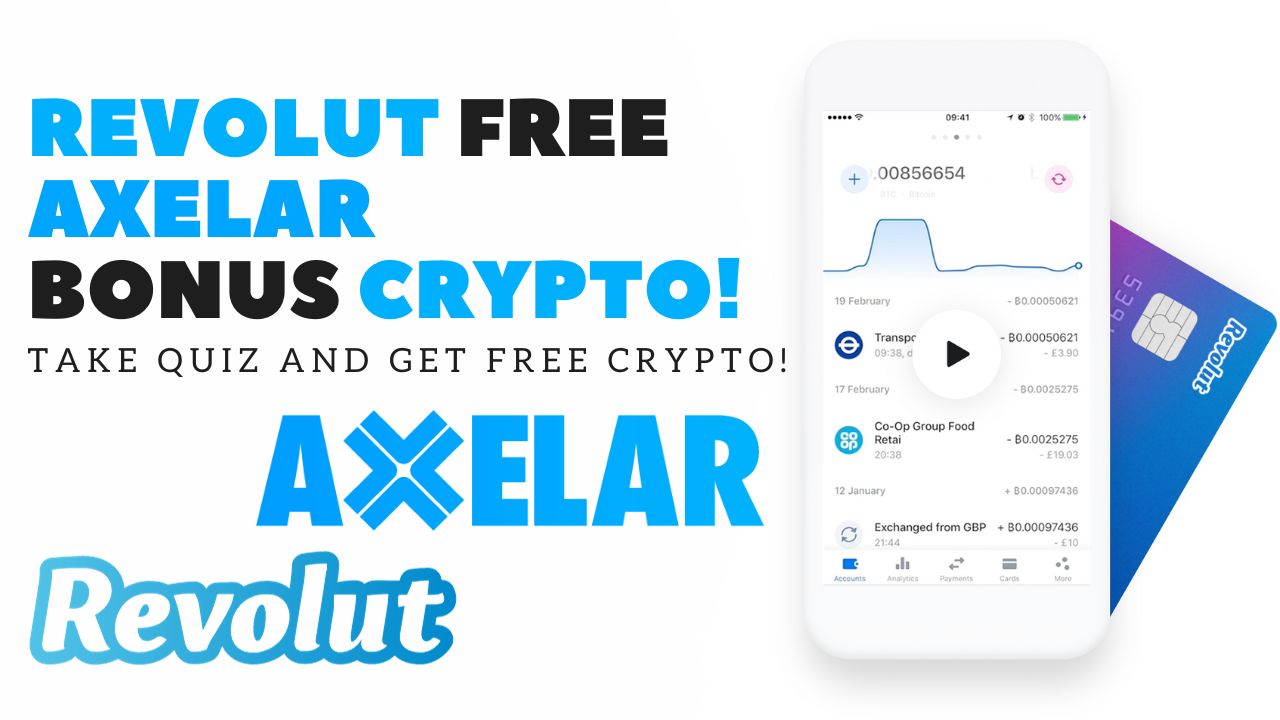
Promotion is limited by time (is on/off by Revolut). You can check it always on Revolut website.
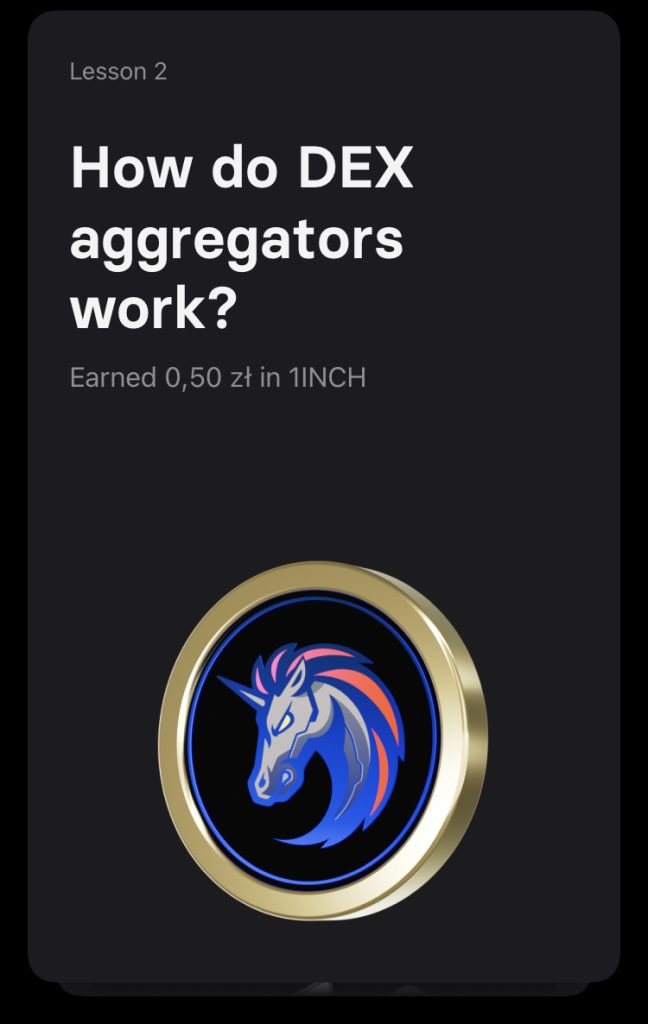
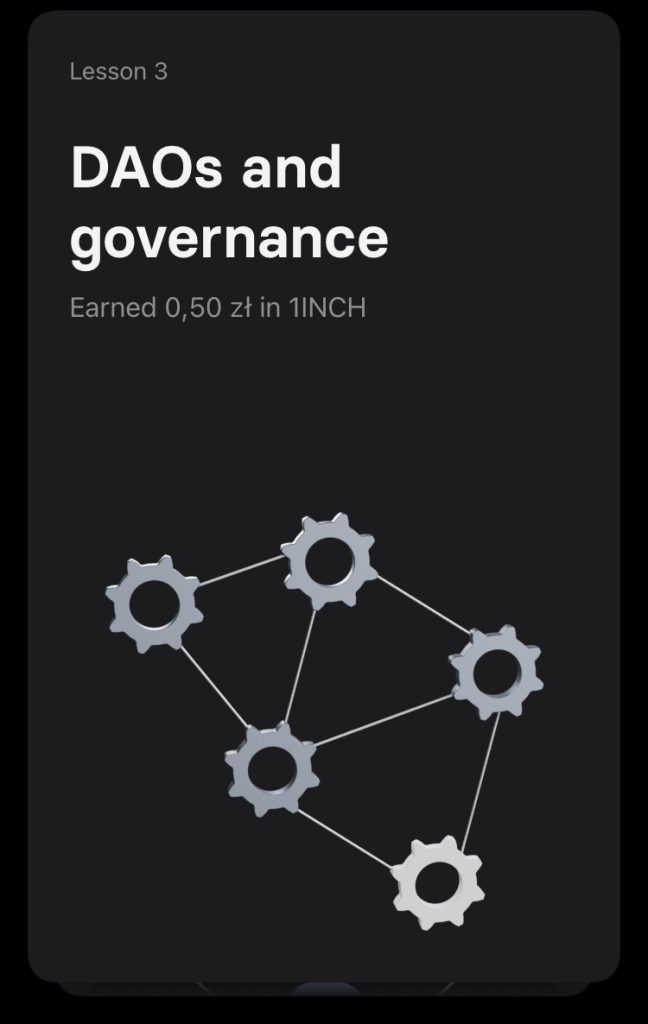
iExec Quiz Correct Answers
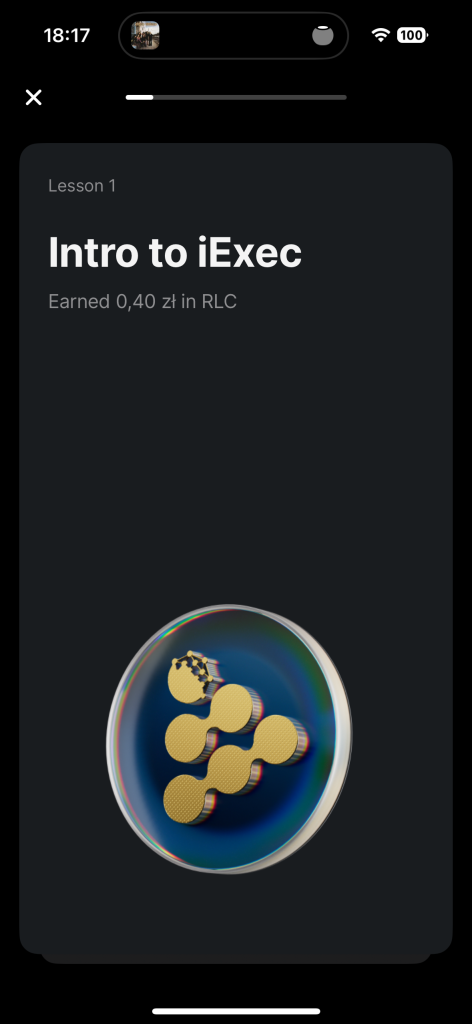
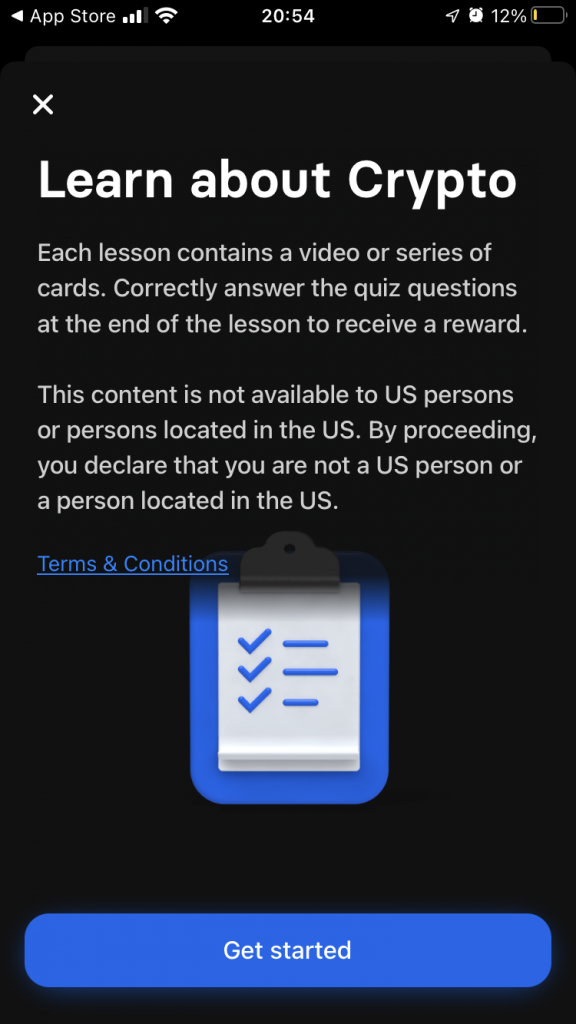
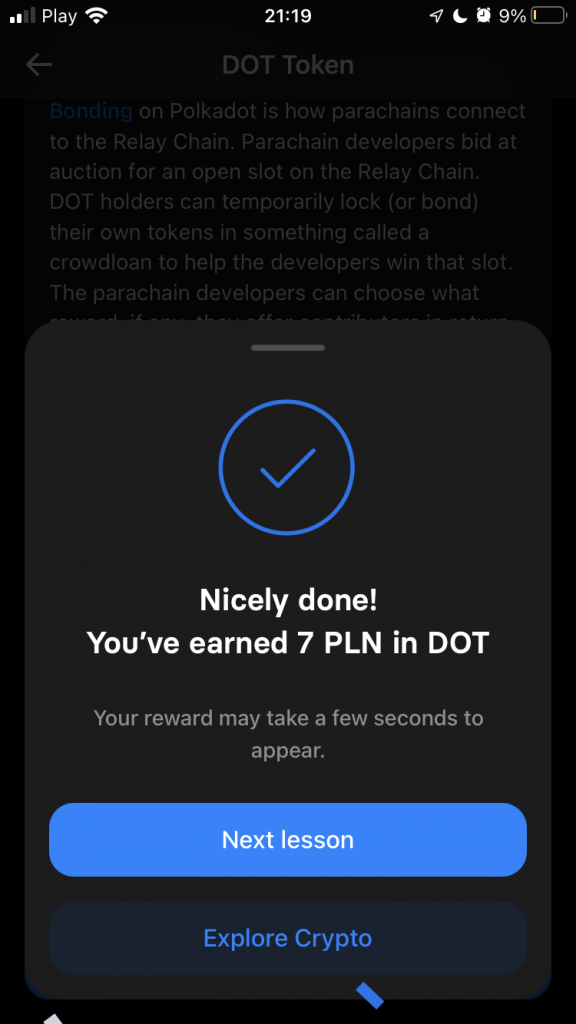
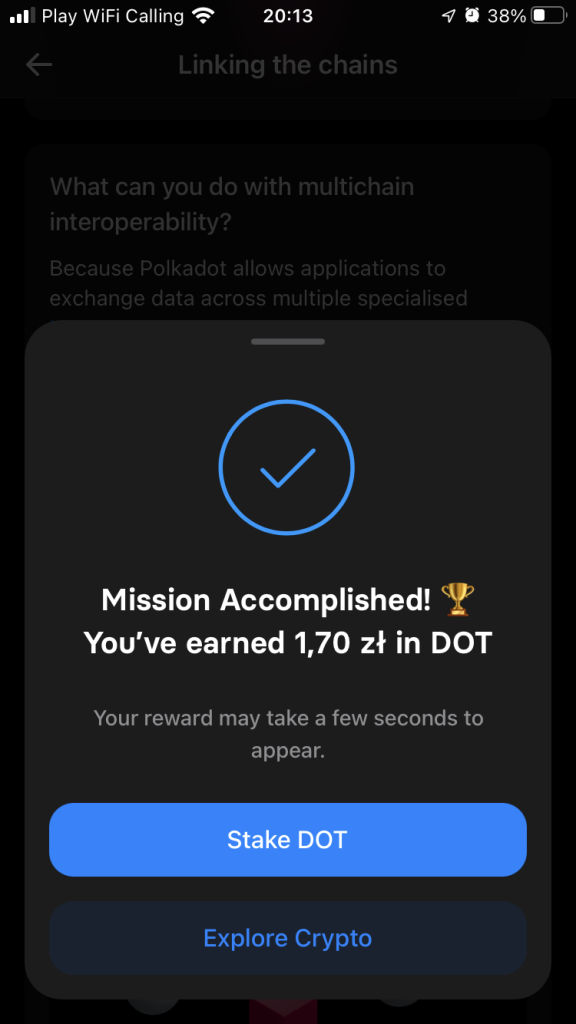
The iExec test consists of 2 lessons, after which you will receive approximately 0,8 PLN. Prize value may vary by country.
Lesson 1 – Intro to Exec
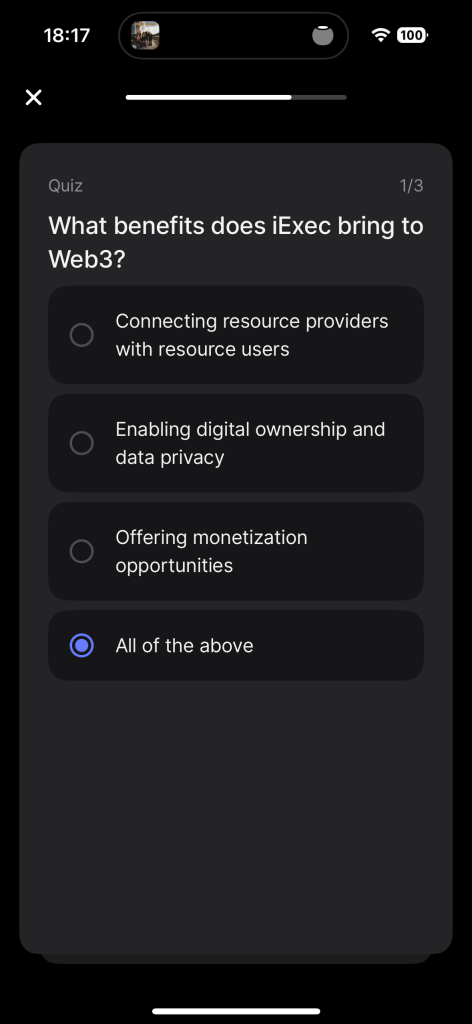
Question 1: What benefits does iExec bring to Web3?
Answer: All of the above
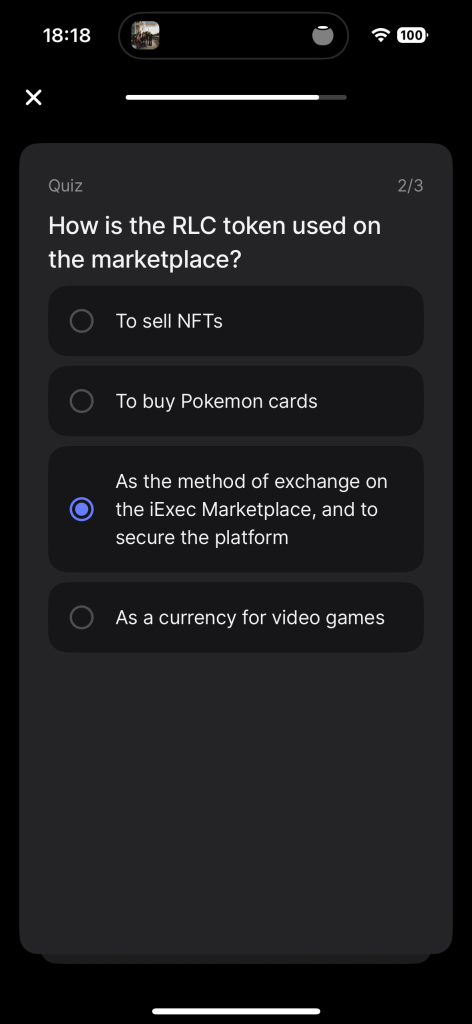
Question 2: How is the RLC token used on the marketplace?
Answer: As the method of exchange on the iExec Marketplace, and to secure the platform
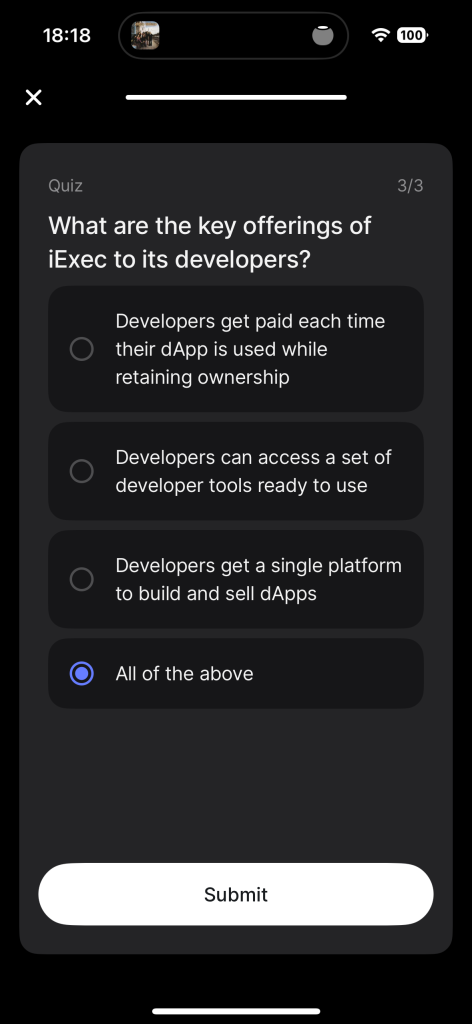
Question 3: What are the key offerings of iExec to its developers?
Answer: All of the above
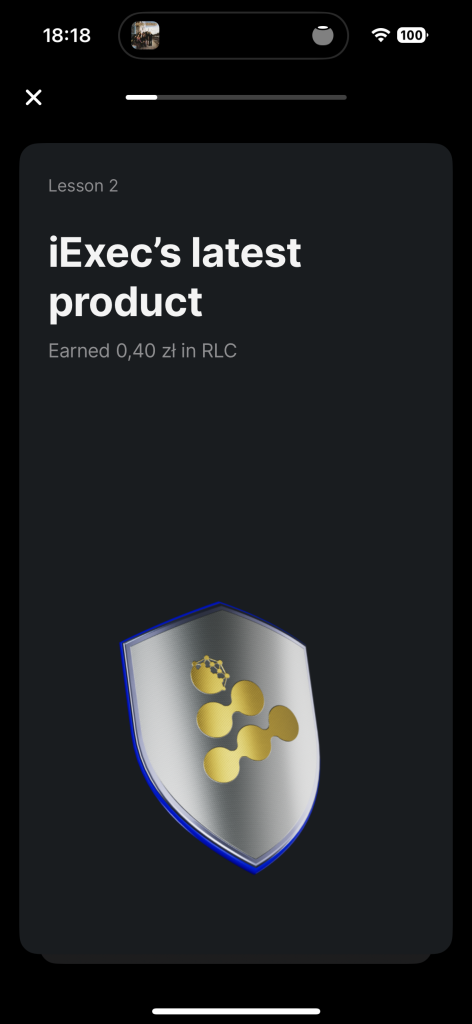
Lesson 2 – iExec’s latest product
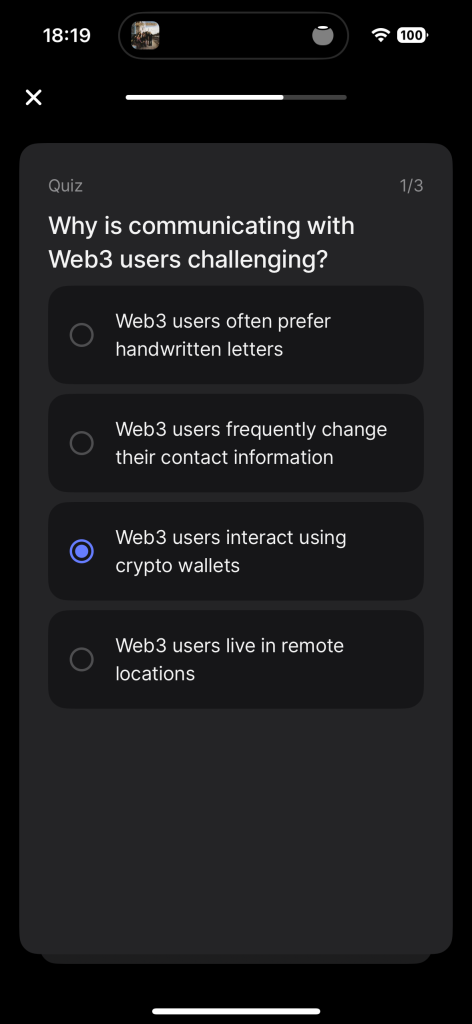
Question 1: Why is communicating with Web3 users challenging?
Answer: Web3 users interact using crypto wallets
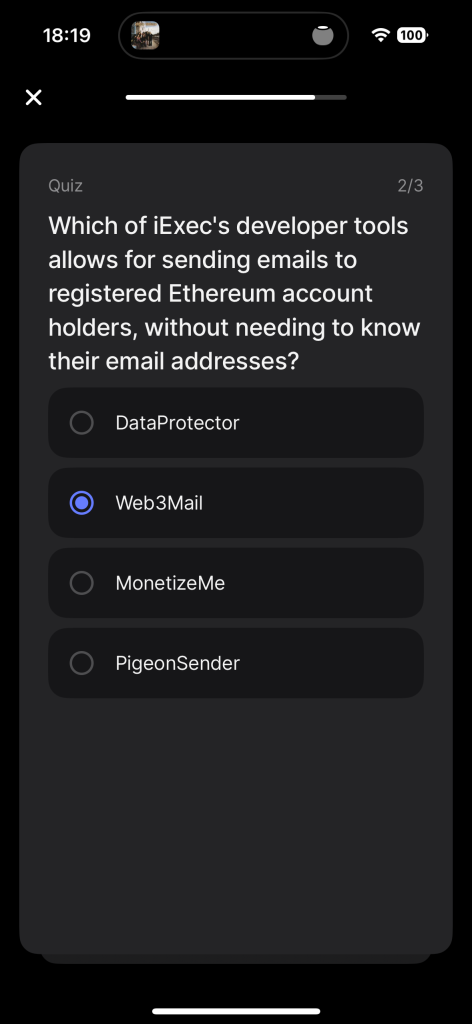
Question 2: Which of ¡Exec’s developer tools allows for sending emails to registered Ethereum account holders, without needing to know their email addresses?
Answer: Web3Mail
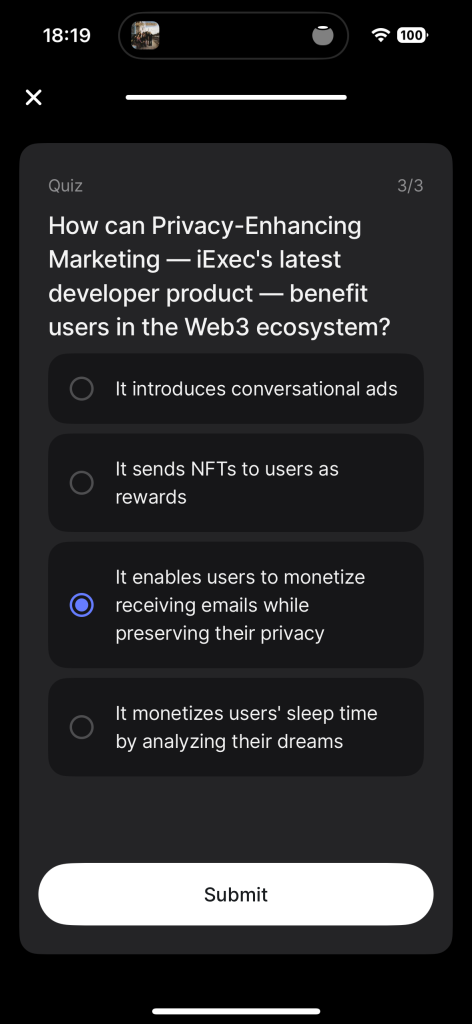
Question 3: How can Privacy-Enhancing Marketing — ¡Exec’s latest developer product — benefit users in the Web3 ecosystem?
Answer: It enables users to monetize receiving emails while preserving their privacy
Discover the key to acing the Revolut Quiz with our comprehensive guide to Revolut Quiz Answers. Learn everything you need to know about Revolut, its features, and benefits to help you breeze through the quiz and unlock the rewards.
Are you a Revolut user looking to take your knowledge to the next level? The Revolut Quiz is an excellent way to test your knowledge of Revolut’s features, services, and benefits. However, with the Quiz being notoriously tricky, it can be a challenge to get a perfect score.
Thankfully, our comprehensive guide to Revolut Quiz Answers has got you covered. Our expert team has carefully compiled a list of all the answers you need to know to ace the quiz and unlock the rewards.
Open Revolut Account
From Zero To Millionaire readers can get for free 200 PLN on Revolut using the promo code ‘krzyszb5x!APR2-23-AR‘! All you have to do is:
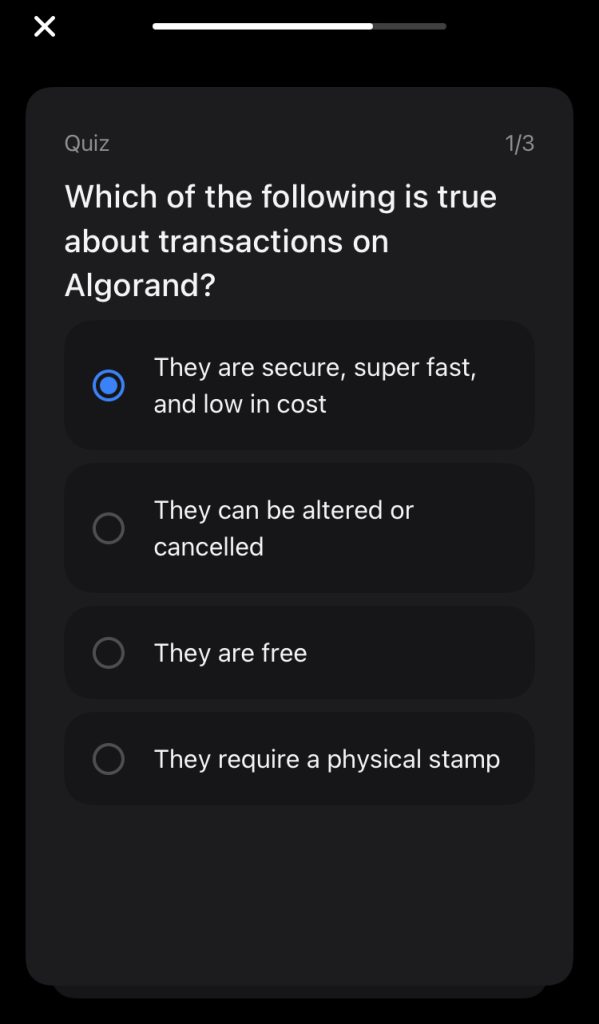
Question 1: Which of the following is true about transactions on Algorand?
Answer: They are secure, super fast, and low in cost
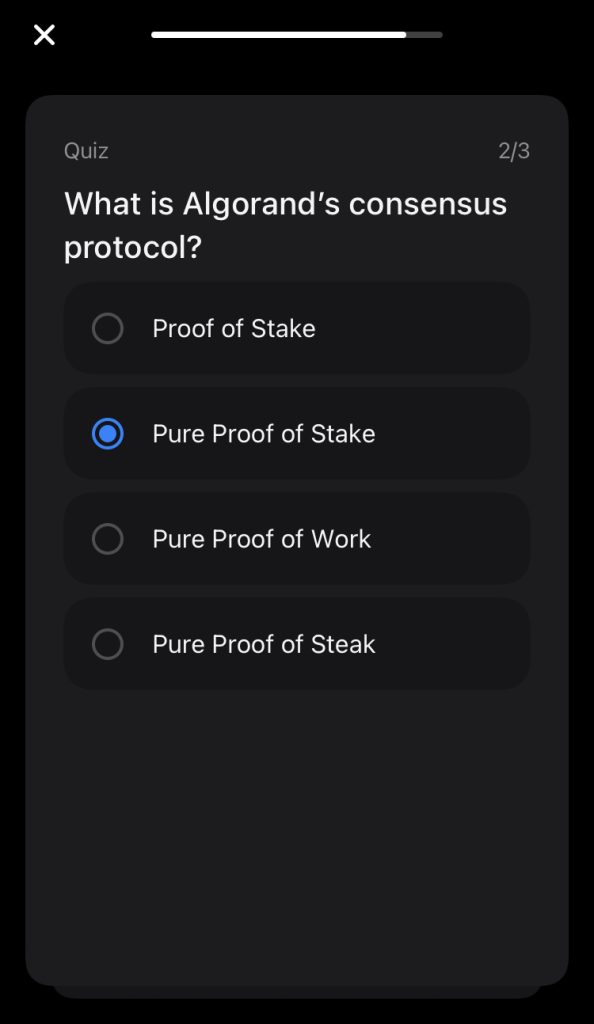
Question 2: What is Algorand’s consensus protocol?
Answer: Pure Proof of Stake
Question 3: How is Algorand different from other blockchains?
Answer: It doesn’t fork
Lesson 2 – Algorand & Sustainability
Question 1: What makes Algorand sustainable?
Answer: All of the above
Question 2: What happens when a governor fails to maintain their stake of ALGO during the governance period?
Answer: They will lose their governance rewards
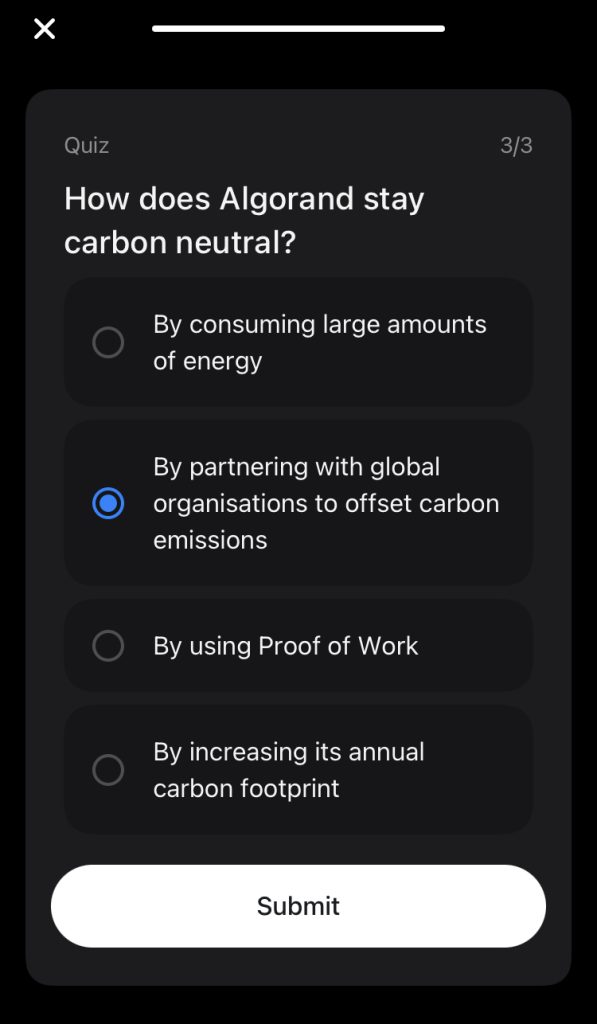
Question 3: How does Algorand stay carbon neutral?
Answer: By partnering with global organisations to offset carbon emissions
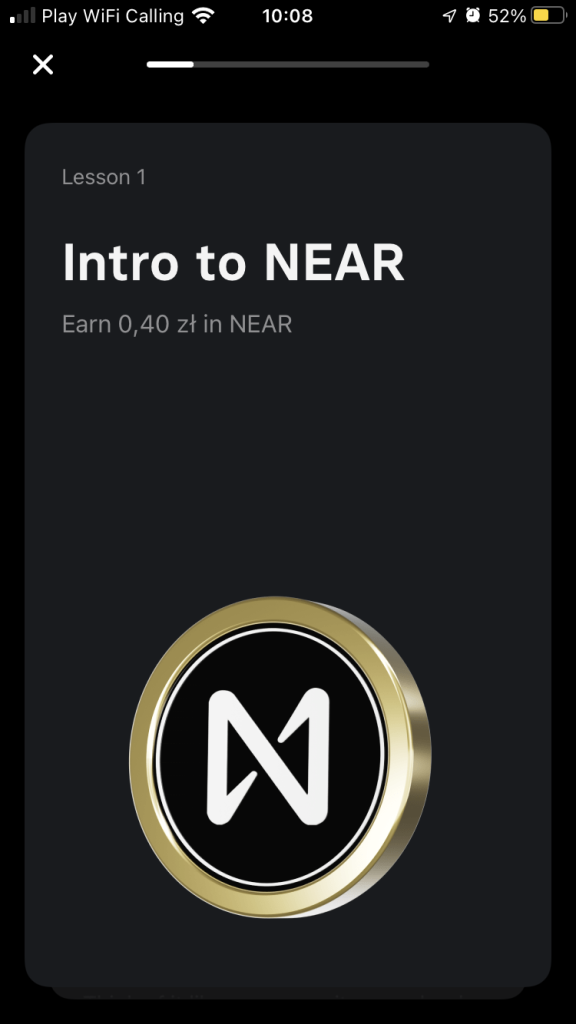
NEAR answers
The NEAR test consists of 2 lessons, after which you will receive approximately 0,8 PLN. Prize value may vary by country.
Lesson 1 – Intro to NEAR
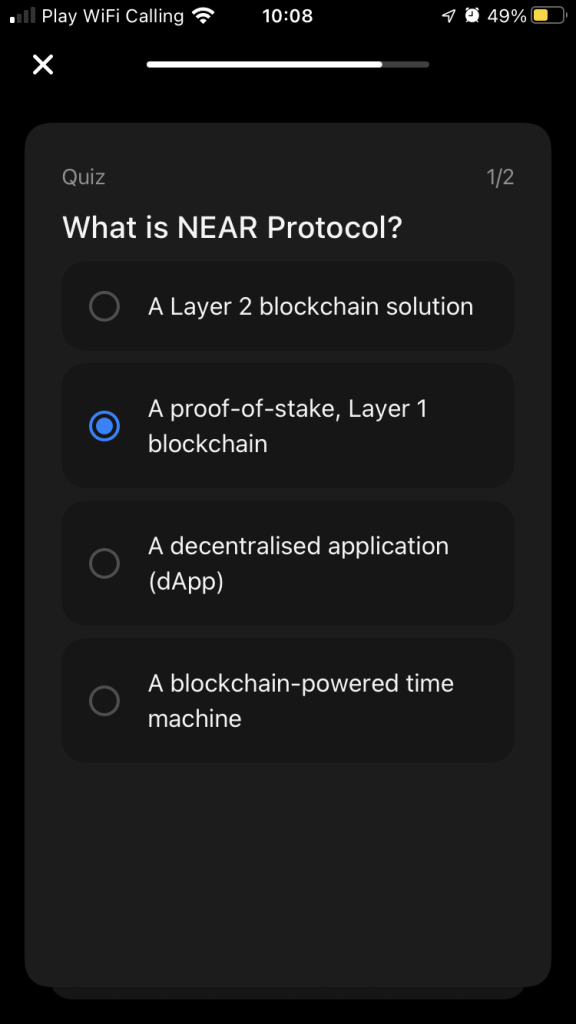
Question 1: What is NEAR Protocol?
Answer: A proof-of-stake, Layer 1 blockchain
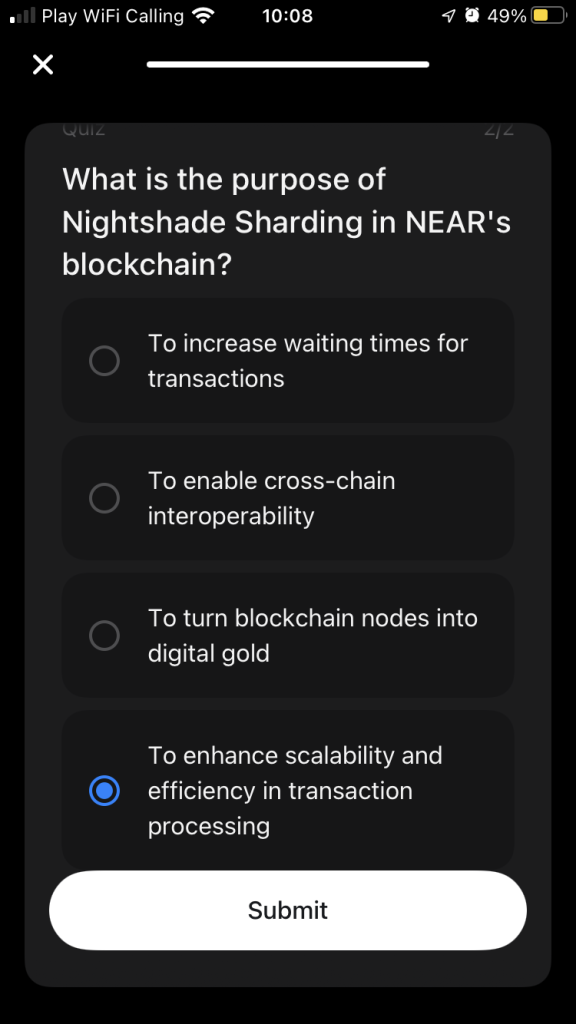
Question 2: What is the purpose of Nightshade Sharding in NEAR’s blockchain?
Answer: To enhance scalability and efficiency in transaction processing
Lesson 2 – Blockchain Operating System
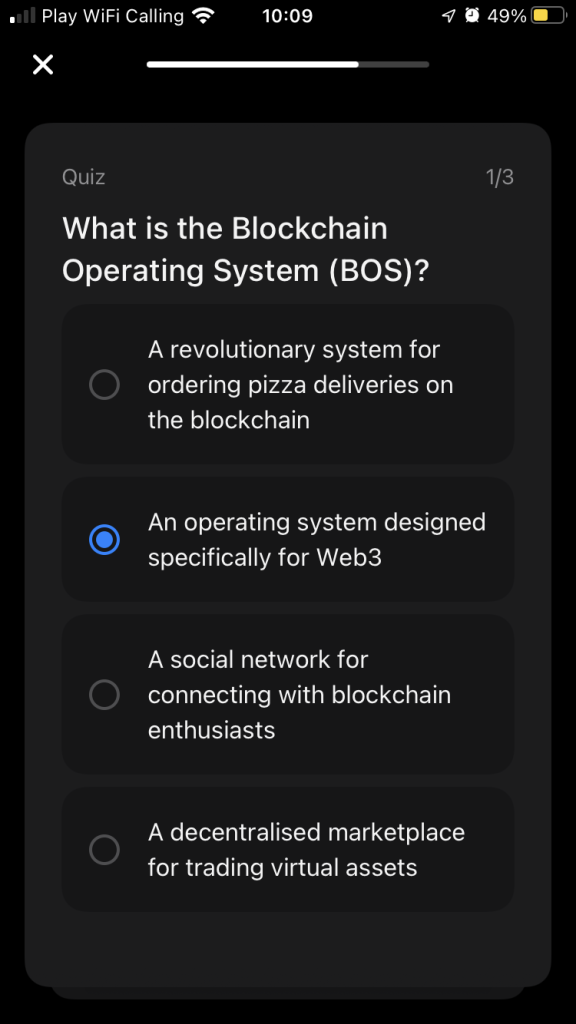
Question 1: What is the Blockchain Operating System (BOS)?
Answer: An operating system designed specifically for Web3
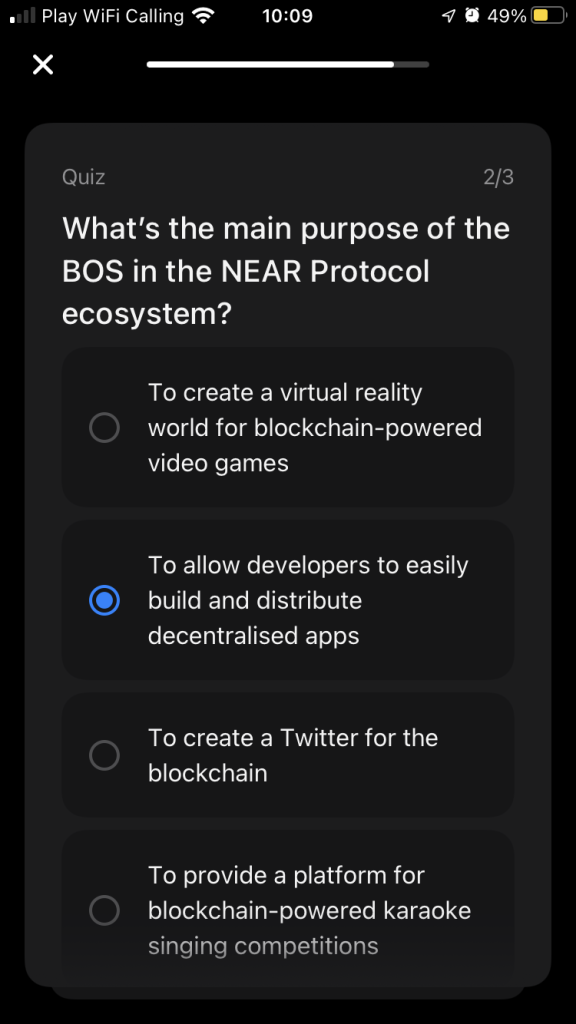
Question 2: What’s the main purpose of the BOS in the NEAR Protocol ecosystem?
Answer: To allow developers to easily build and distribute decentralised apps
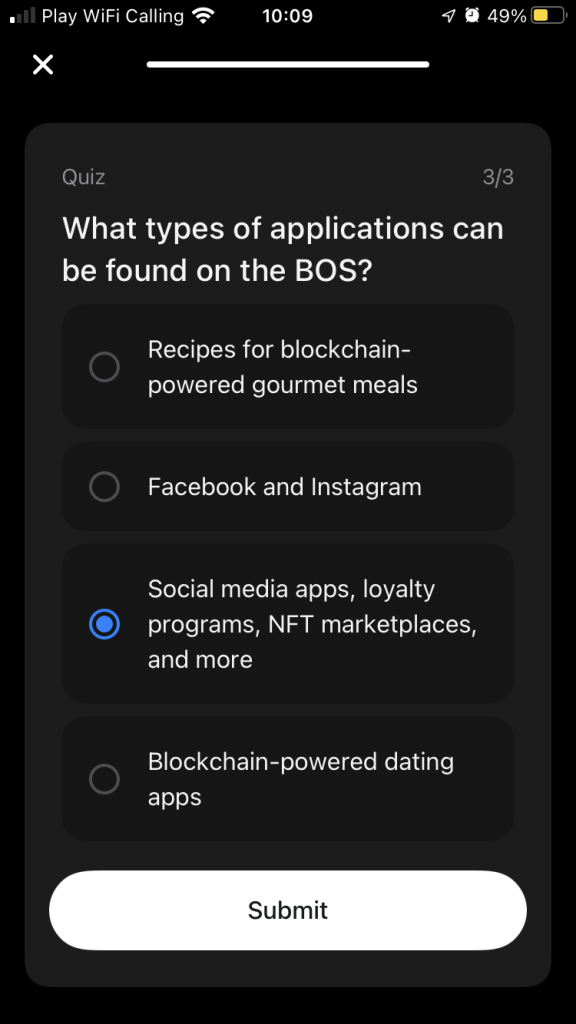
Question 3: What types of applications can be found on the BOS?
Answer: Social media apps, loyalty programs, NFT marketplaces, and more
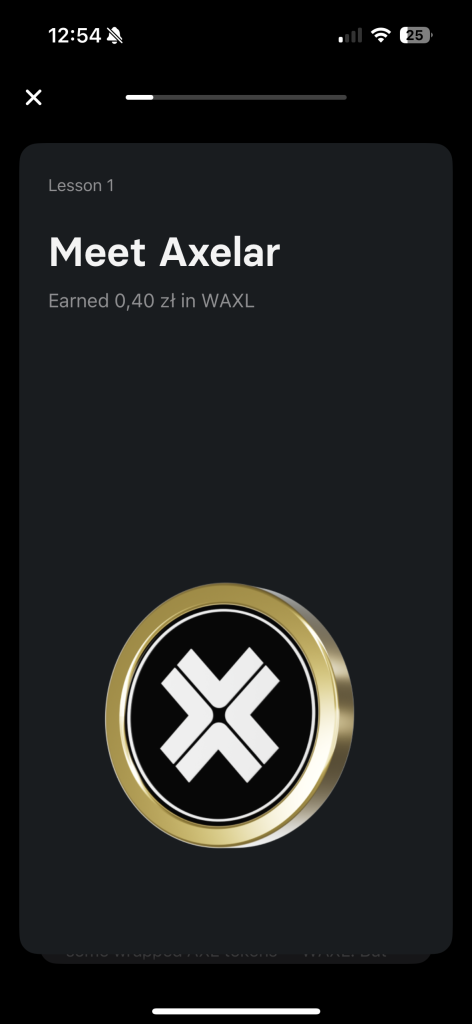
Axelar Quiz Correct Answers
The Axelar test consists of 3 lessons, after which you will receive approximately 1,2 PLN. Prize value may vary by country.
Lesson 1 – Meet Axelar
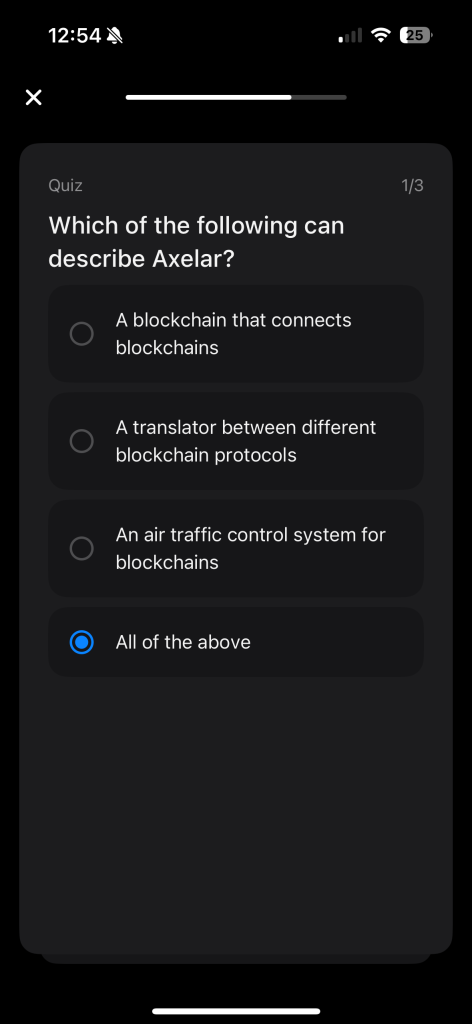
Question 1: Which of the following can describe Axelar?
Answer: All of the above
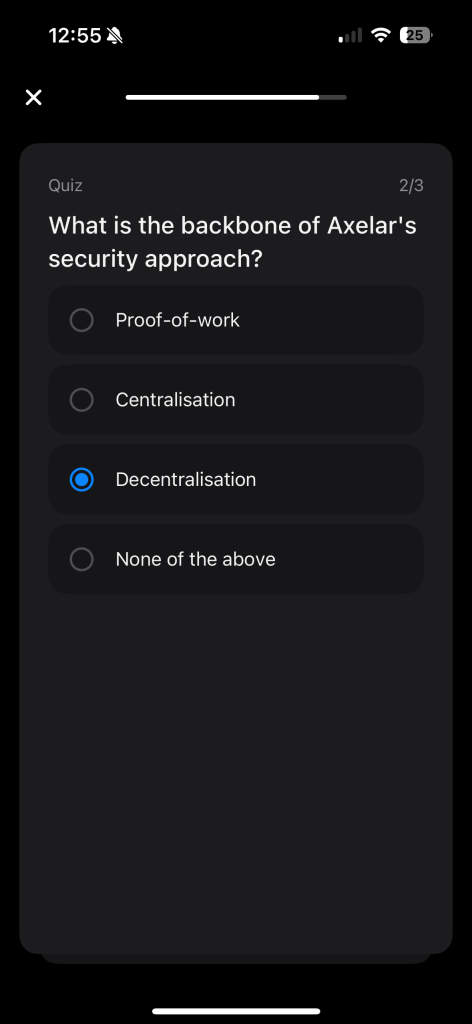
Question 2: What is the backbone of Axelar’s security approach?
Answer: Decentralisation
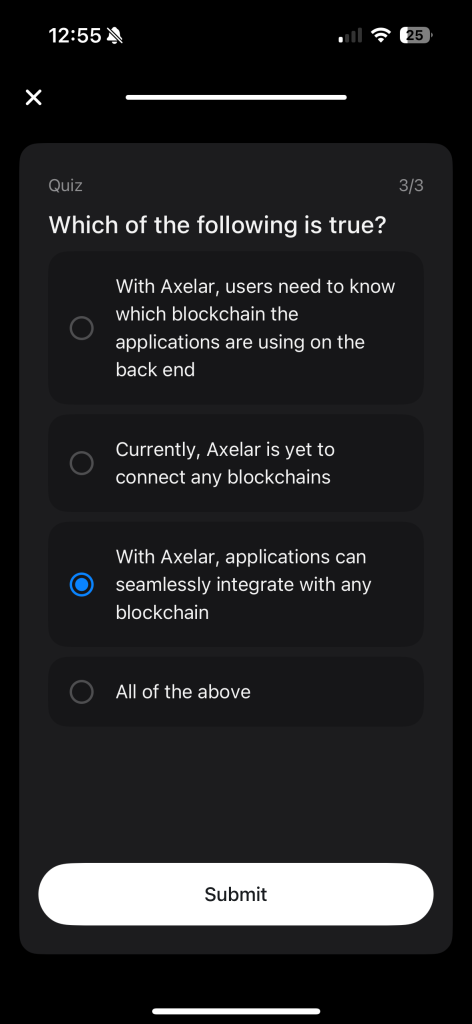
Question 3: Which of the following is true?
Answer: With Axelar, applications can seamlessly integrate with any blockchain
Revolut Axelar Answers – Meet Axelar
Revolut Axelar Answers – Meet Axelar
Revolut Axelar Answers – Meet Axelar
Revolut Axelar Answers – Meet Axelar
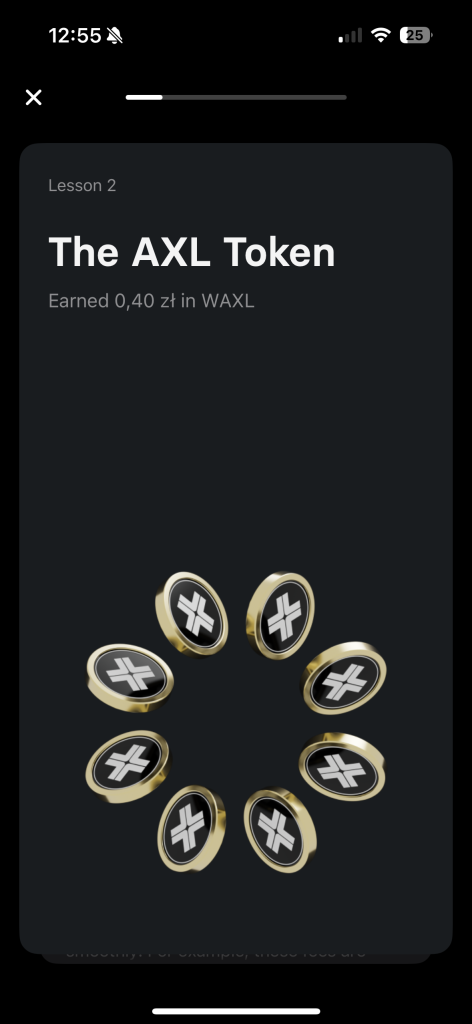
Lesson 2 – The AXL Token
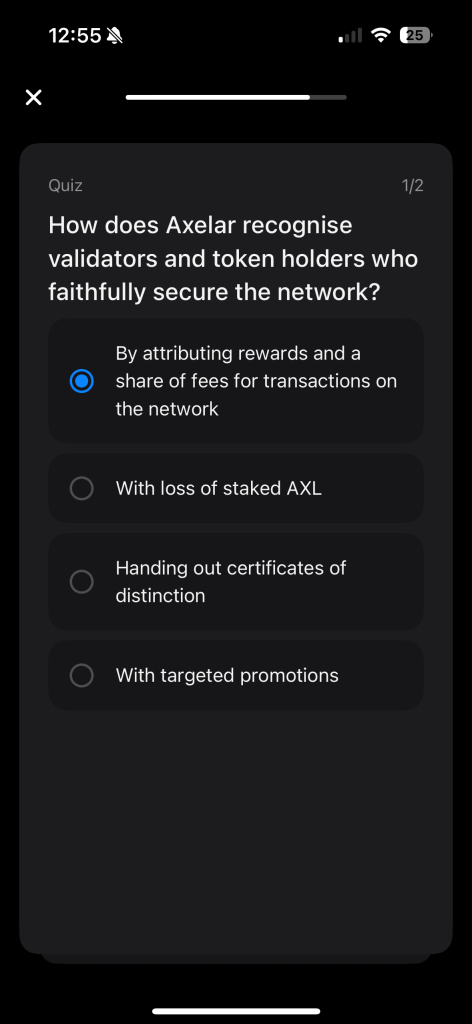
Question 1: How does Axelar recognise validators and token holders who faithfully secure the network?
Answer: By attributing rewards and a share of fees for transactions on the network
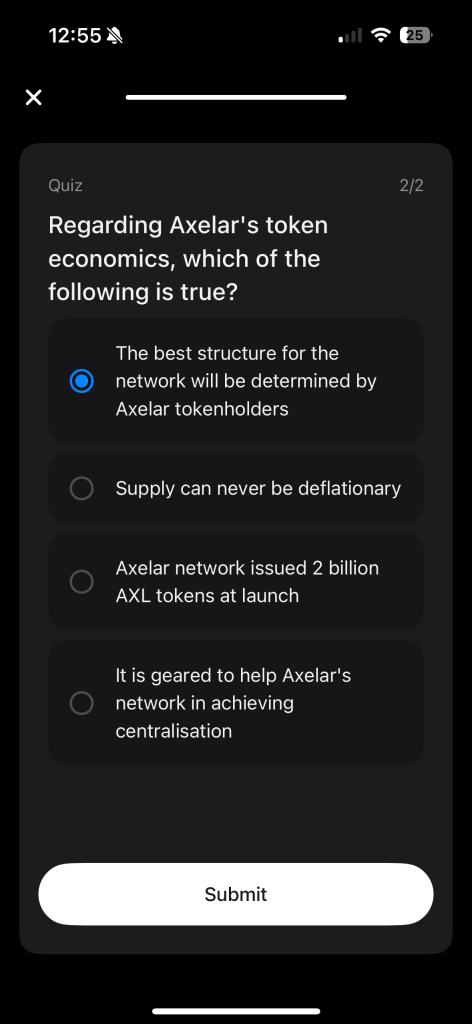
Question 2: Regarding Axelar’s token economics, which of the following is true?
Answer: The best structure for the network will be determined by Axelar tokenholders
Revolut Axelar Answers – Meet Axelar
Revolut Axelar Answers – Meet Axelar
Revolut Axelar Answers – Meet Axelar
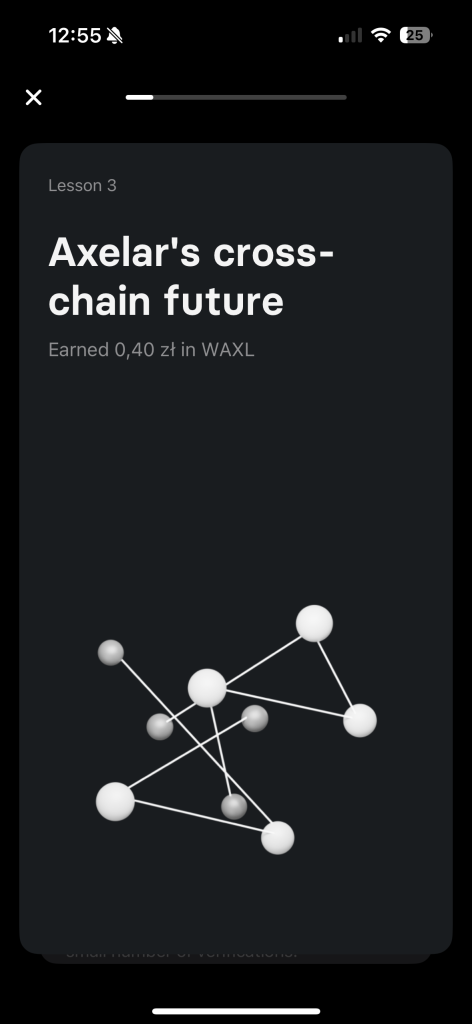
Lesson 3 – Axelar’s cross-chain future
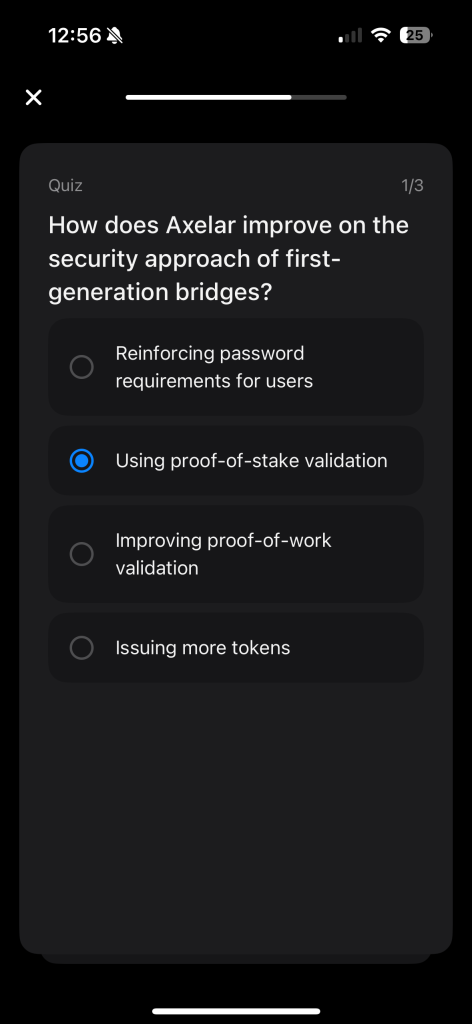
Question 1: How does Axelar improve on the security approach of first-generation bridges?
Answer: Using proof-of-stake validation
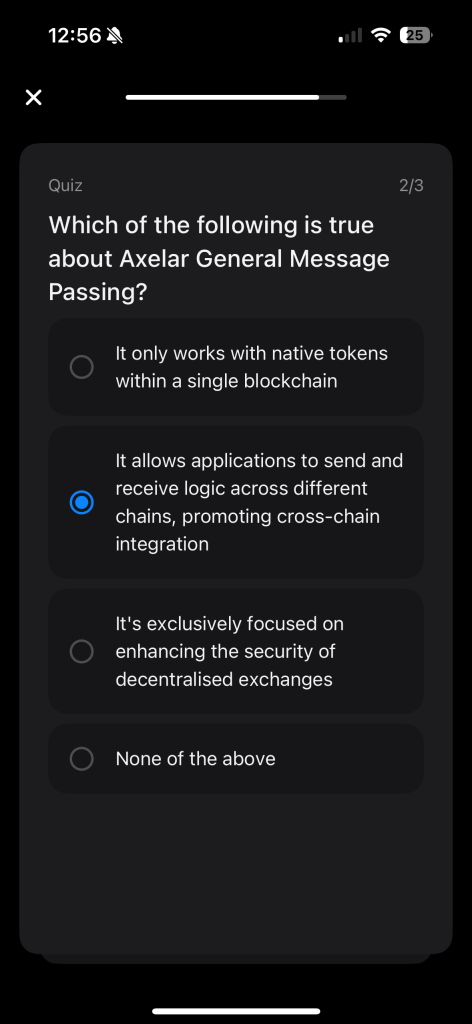
Question 2: Which of the following is true about Axelar General Message Passing?
Answer: It allows applications to send and receive logic across different chains, promoting cross-chain integration
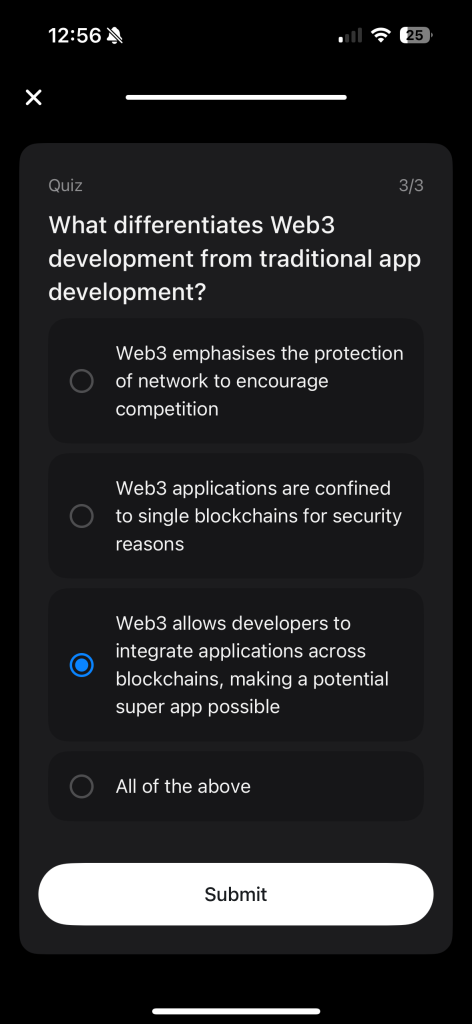
Question 2: What differentiates W
Answer: Web3 allows developers to integrate applications across blockchains, making a potential super app possible
Revolut Axelar Answers – Meet Axelar
Revolut Axelar Answers – Meet Axelar
Revolut Axelar Answers – Meet Axelar
Revolut Axelar Answers – Meet Axelar
iExec Quiz Correct Answers
Revolut FREE iExec Crypto. Make simple course with simple quiz about cryptocurrency and grab for FREE iExec cryptocurrency from Revolut.
Lesson 1 – Intro to Exec
Question 1: What benefits does iExec bring to Web3?
Answer: All of the above
Question 2: How is the RLC token used on the marketplace?
Answer: As the method of exchange on the iExec Marketplace, and to secure the platform
Question 3: What are the key offerings of iExec to its developers?
Answer: All of the above
Revolut Learn Quiz: iExec Correct Answers!
Revolut Learn Quiz: iExec Correct Answers!
Revolut Learn Quiz: iExec Correct Answers!
Revolut Learn Quiz: iExec Correct Answers!
Lesson 2 – iExec’s latest product
Question 1: Why is communicating with Web3 users challenging?
Answer: Web3 users interact using crypto wallets
Question 2: Which of ¡Exec’s developer tools allows for sending emails to registered Ethereum account holders, without needing to know their email addresses?
Answer: Web3Mail
Question 3: How can Privacy-Enhancing Marketing — ¡Exec’s latest developer product — benefit users in the Web3 ecosystem?
Answer: It enables users to monetize receiving emails while preserving their privacy
Revolut Learn Quiz: iExec Correct Answers!
Revolut Learn Quiz: iExec Correct Answers!
Revolut Learn Quiz: iExec Correct Answers!
Revolut Learn Quiz: iExec Correct Answers!
Oasis Quiz Correct Answers
The Oasis test consists of 3 lessons, after which you will receive approximately 1,20 PLN in ROSE Cryptocurrency. Prize value may vary by country.
Lesson 1 – Intro to Oasis
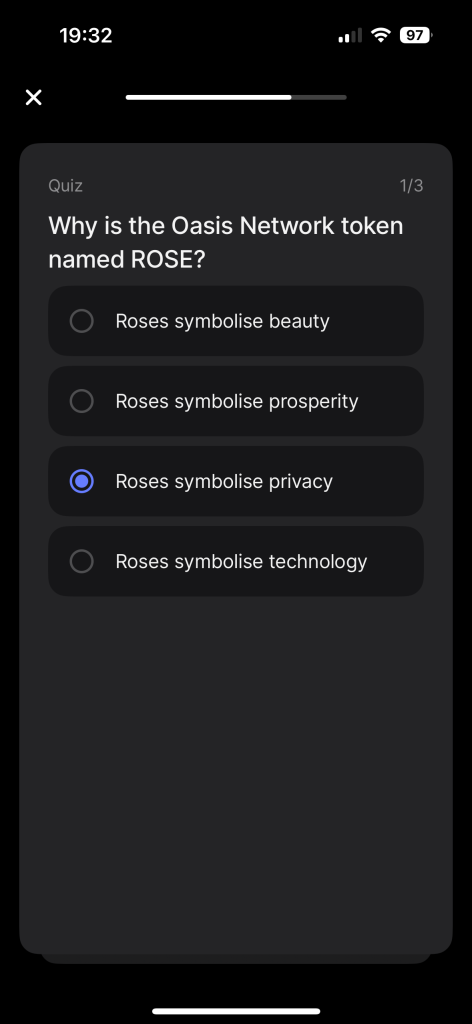
Question 1: Why is the Oasis Network token named ROSE?
Answer: Roses symbolize privacy.
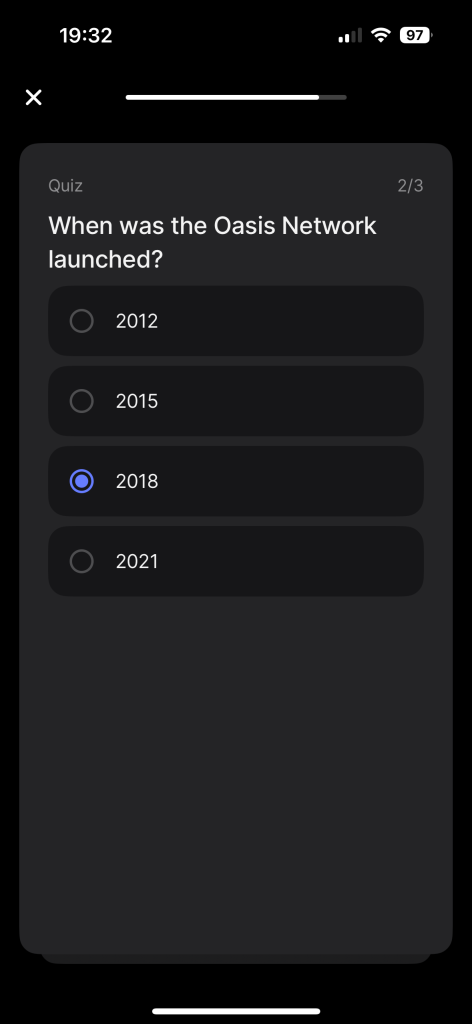
Question 2: When was the Oasis Network launched?
Answer: 2018
Question 3: Which of the foll
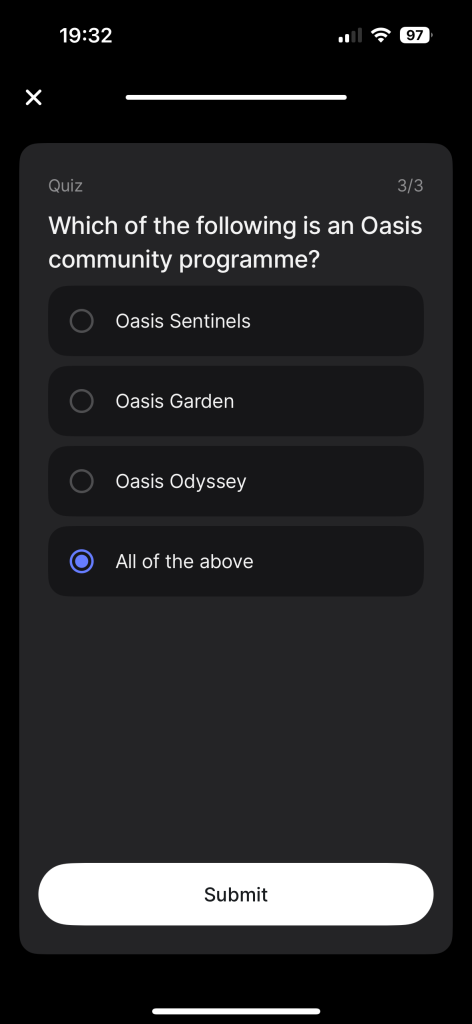
Answer: All of the above.
Lesson 1 – Intro to Oasis
Why is the Oasis Network token named ROSE?
When was the Oasis Network launched?
Which of the following is an Oasis community programme?
Lesson 2 – How Oasis works
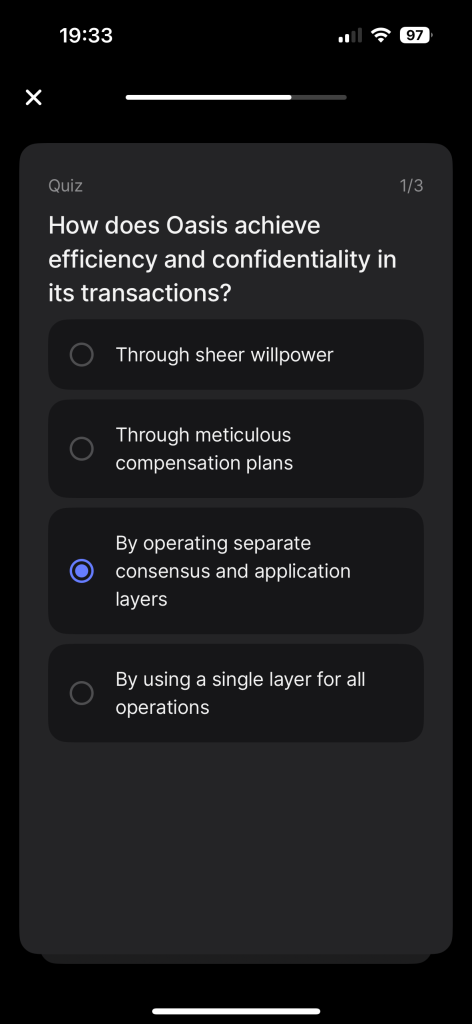
Question 1: How does Oasis achieve efficiency and confidentiality in its transactions?
Answer: By operating separate consensus and application layers.
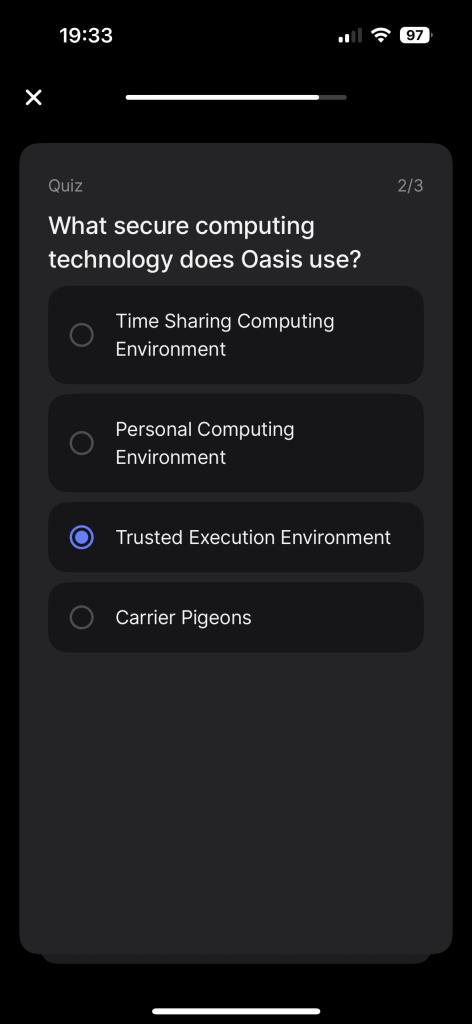
Question 2: What secure computing technology does Oasis use?
Answer: Trusted Execution Environment.
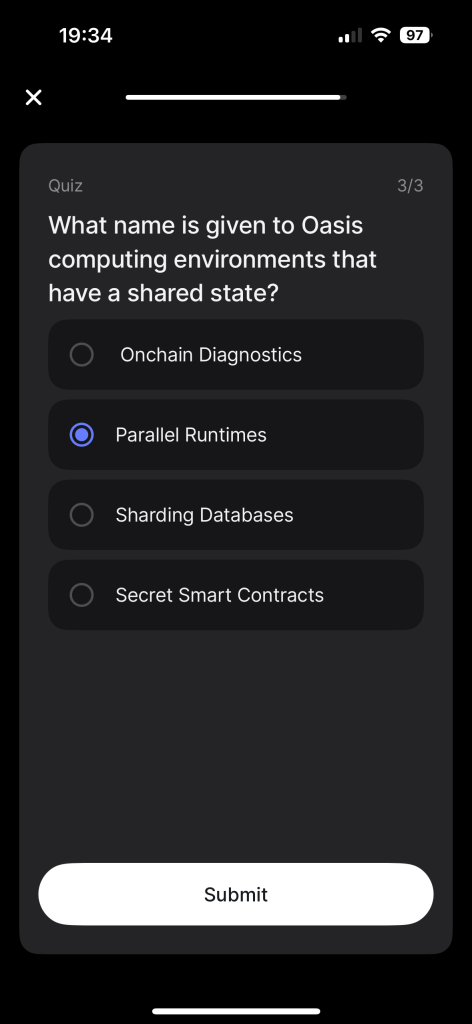
Question 3: What name is given to Oasis computing environments that have a shared state?
Answer: Parallel Runtimes.
Lesson 2 – How Oasis works
How does Oasis achieve efficiency and confidentiality in its transactions?
What secure computing technology does Oasis use?
What name is given to Oasis computing environments that have a shared state?
Lesson 3 – Oasis and Smart Privacy
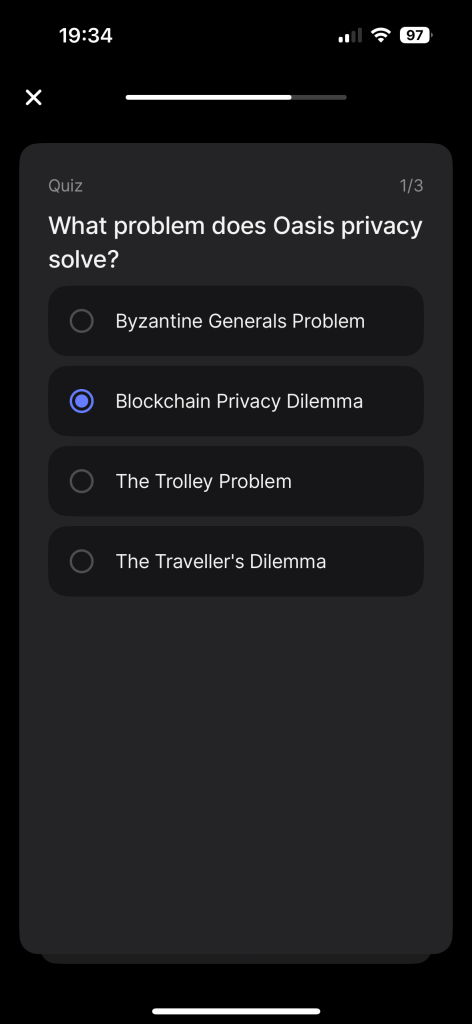
Question 1: What problem does Oasis privacy solve?
Answer: Blockchain Privacy Dilemma.
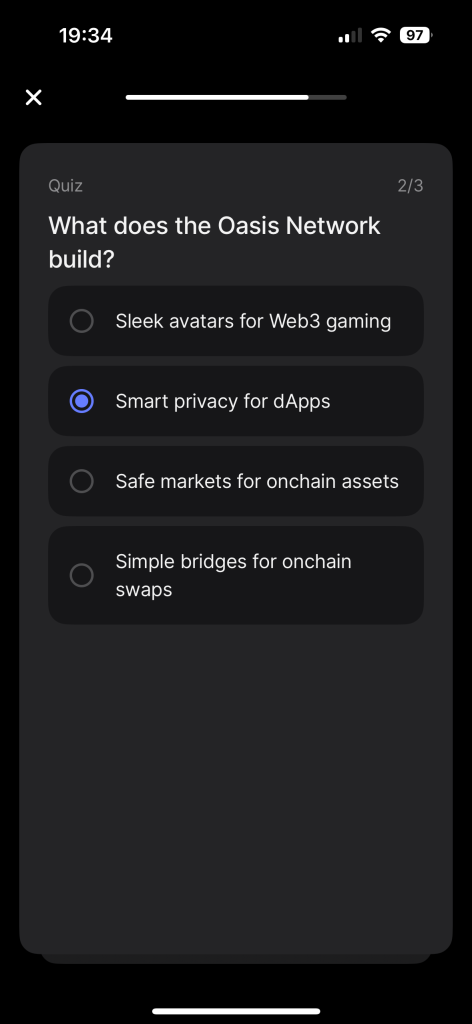
Question 2: What does the Oasis Network build?
Answer: Smart privacy for dApps.
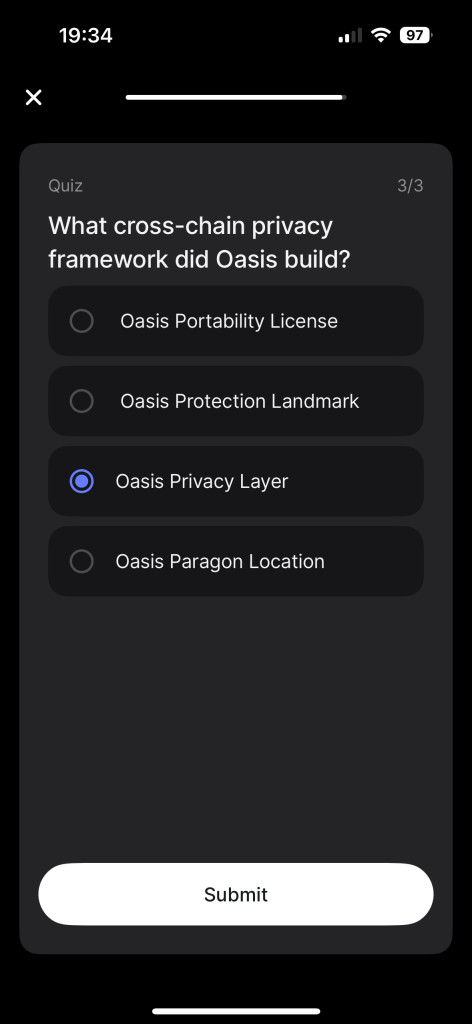
Question 3: What cross-chain privacy framework did Oasis build?
Answer: Oasis Privacy Layer.
Lesson 3 – Oasis and Smart Privacy
What problem does Oasis privacy solve?What does the Oasis Network build?
What does the Oasis Network build?
What cross-chain privacy framework did Oasis build?
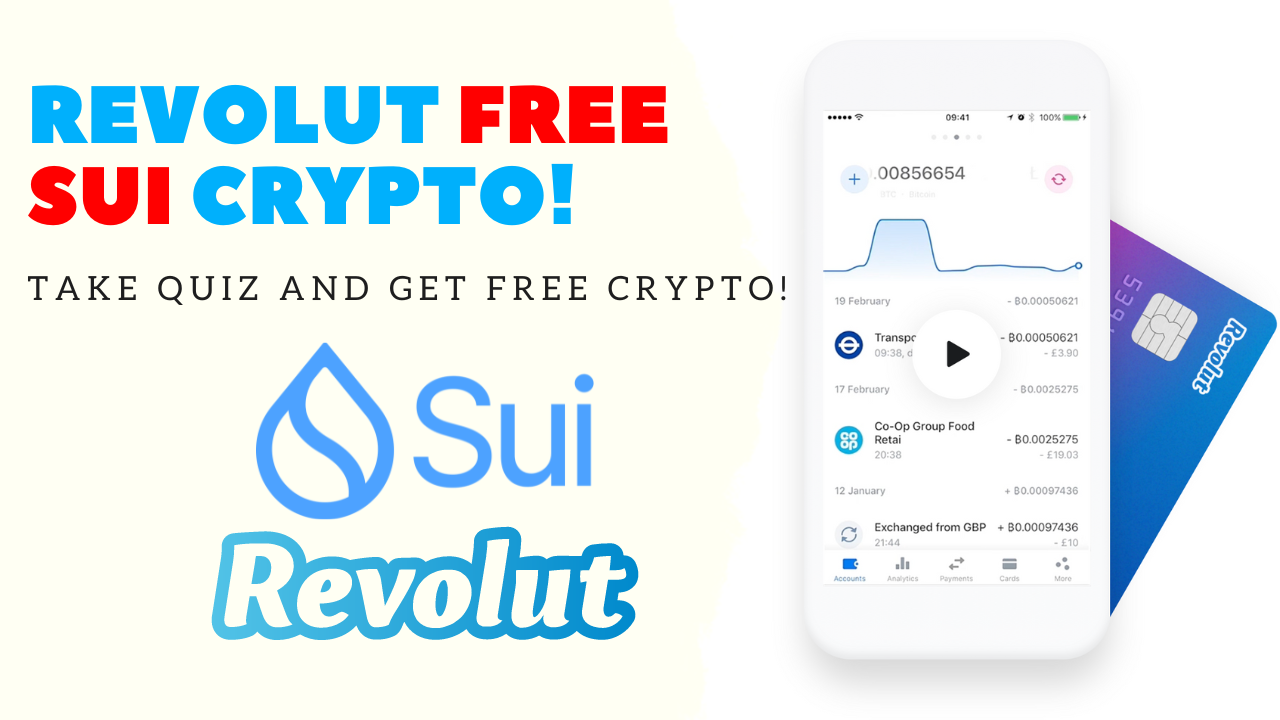
Sui Quiz Correct Answers
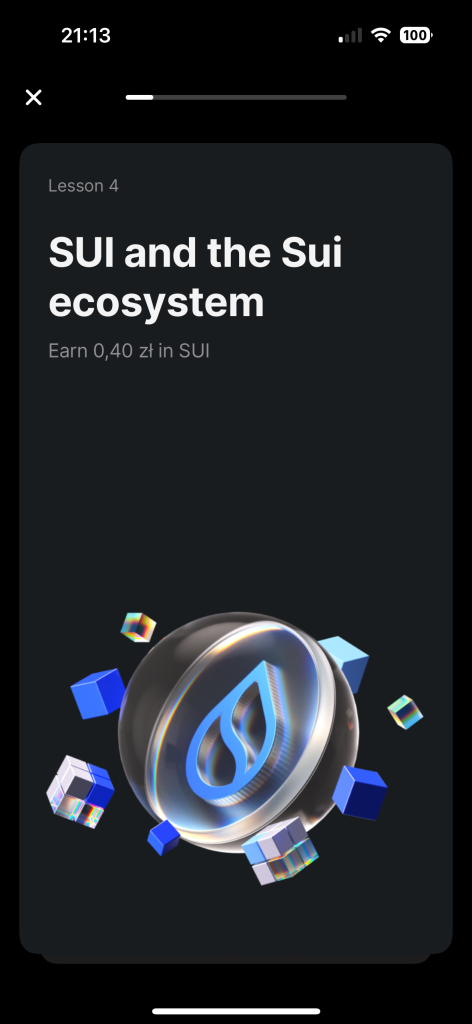
The Sui test consists of 4 lessons, after which you will receive approximately 1,60 PLN in SUI Cryptocurrency. Prize value may vary by country.
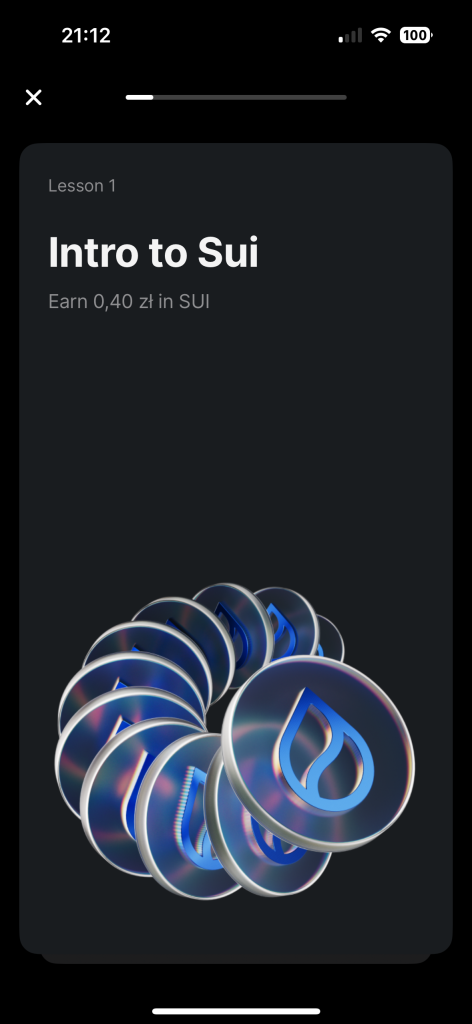
Lesson 1 – Intro to Sui
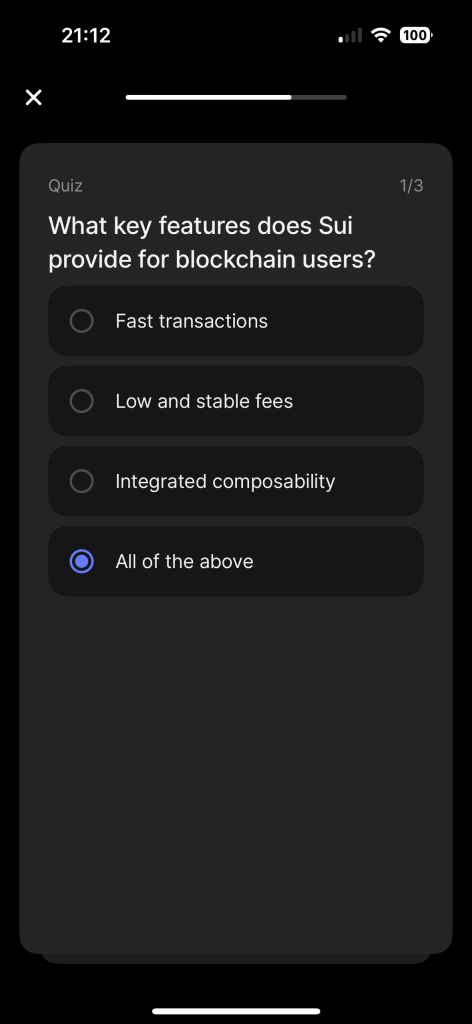
Question 1: What key features does Sui provide for blockchain users?
Answer: All of the above
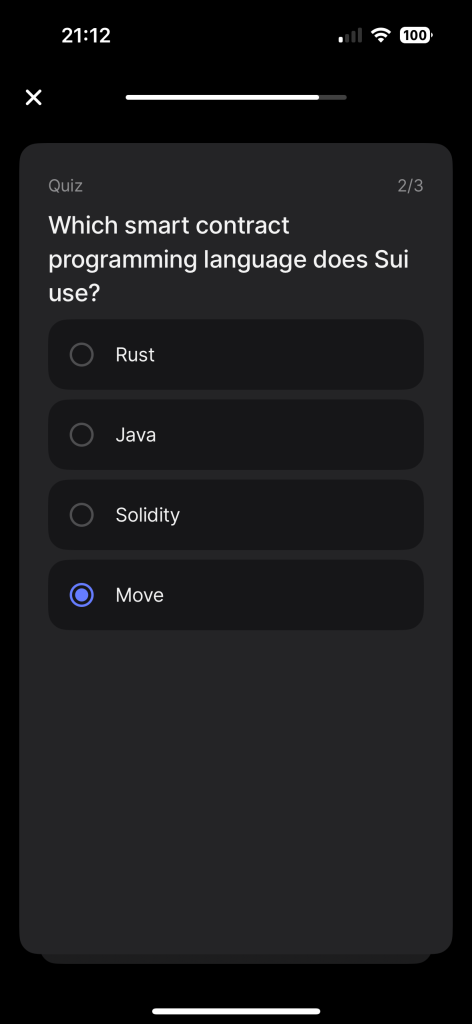
Question 2: Which smart contract programming language does Sui use?
Answer: Move
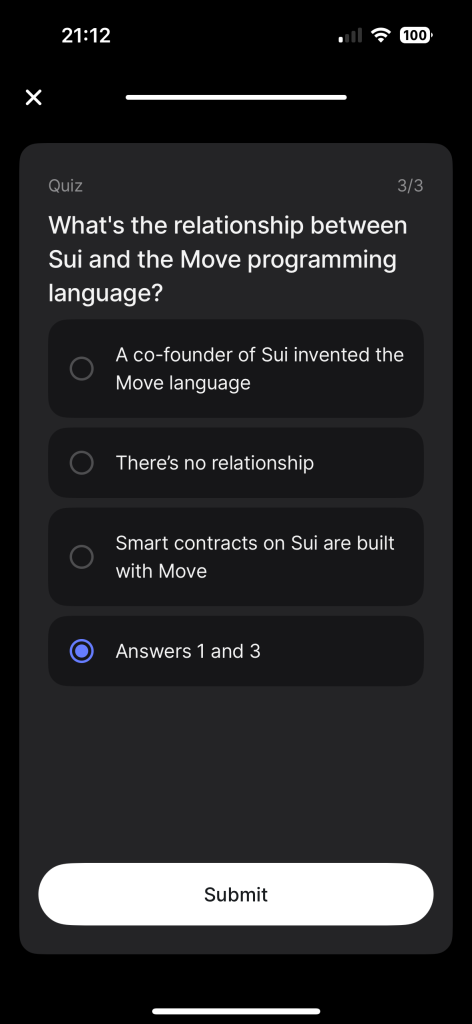
Question 3: What’s the relationship between Sui and the Move programming language?
Answer: Answers 1 and 3
Revolut Learn Quiz: Sui Correct Answers!
Revolut Learn Quiz: Sui Correct Answers!
Revolut Learn Quiz: Sui Correct Answers!
Revolut Learn Quiz: Sui Correct Answers!
Lesson 2 – Sui architecture
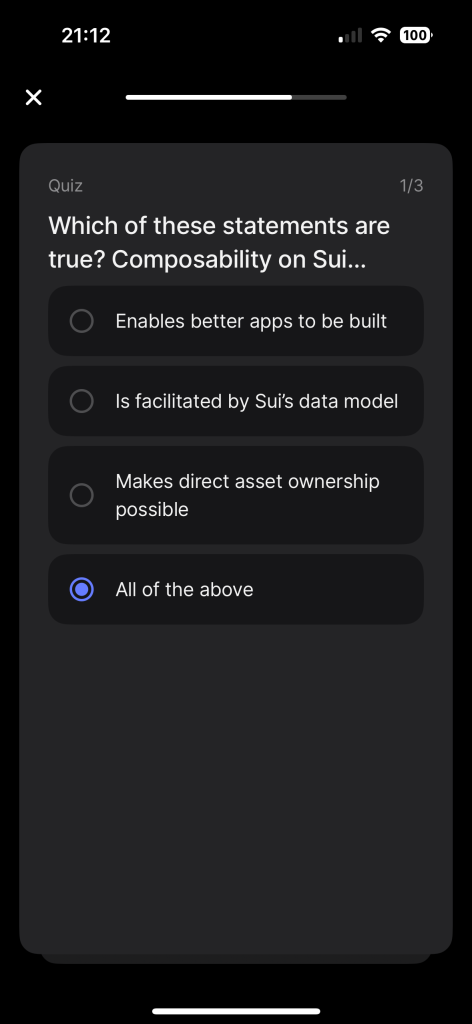
Question 1: Which of these statements are true? Composability on Sui…
Answer: All of the above
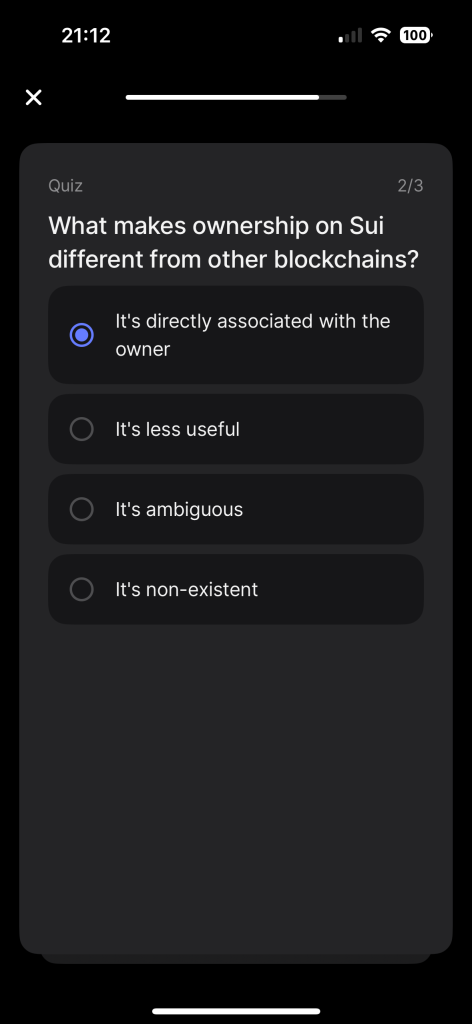
Question 2: What makes ownership on Sui different from other blockchains?
Answer: It’s directly associated with the owner
Question 3: How does Move on Sui create safer apps?
Answer: All of the above
Revolut Learn Quiz: Sui Correct Answers!
Revolut Learn Quiz: Sui Correct Answers!
Revolut Learn Quiz: Sui Correct Answers!
Revolut Learn Quiz: Sui Correct Answers!
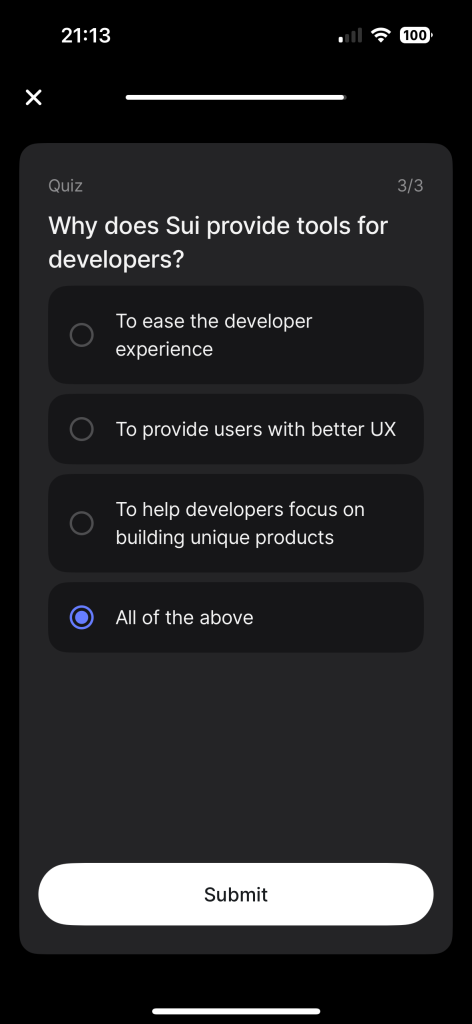
Lesson 3 – Sui’s user experience
Question 1: What is not part of Sui’s vision for better user experience (UX)?
Answer: Limiting user abilities
Question 2: What are two of the main barriers for users on the blockchain?
Answer: Wallets and gas fees
Question 3: Why does Sui provide tools for developers?
Answer: All of the above
Revolut Learn Quiz: Sui Correct Answers!
Revolut Learn Quiz: Sui Correct Answers!
Revolut Learn Quiz: Sui Correct Answers!
Revolut Learn Quiz: Sui Correct Answers!
Lesson 4 –SUI and the Sui ecosystem
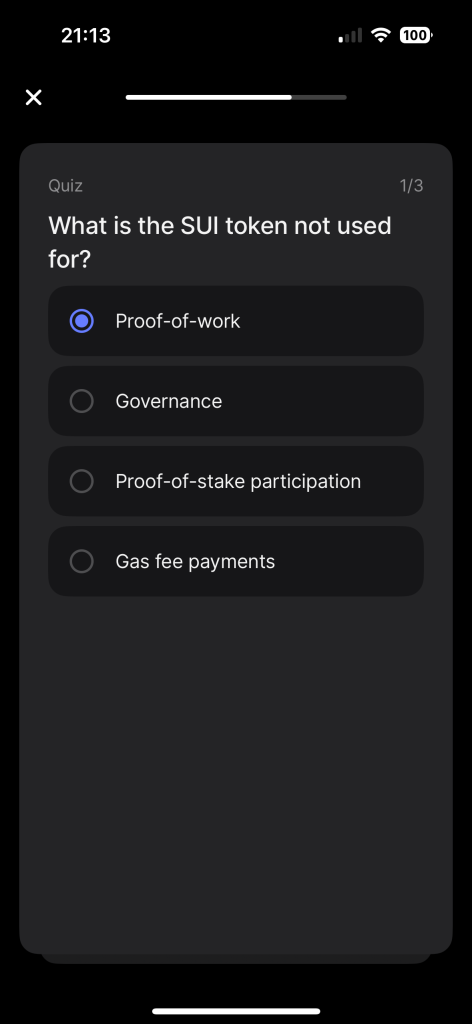
Question 1: What is the SUl token not used for?
Answer: Proof-of-work
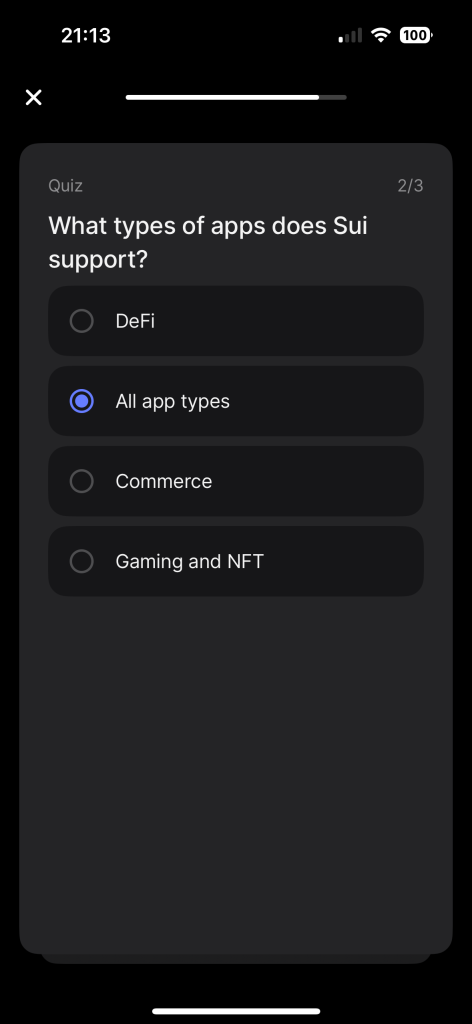
Question 2: What types of apps does Sui support?
Answer: All app types
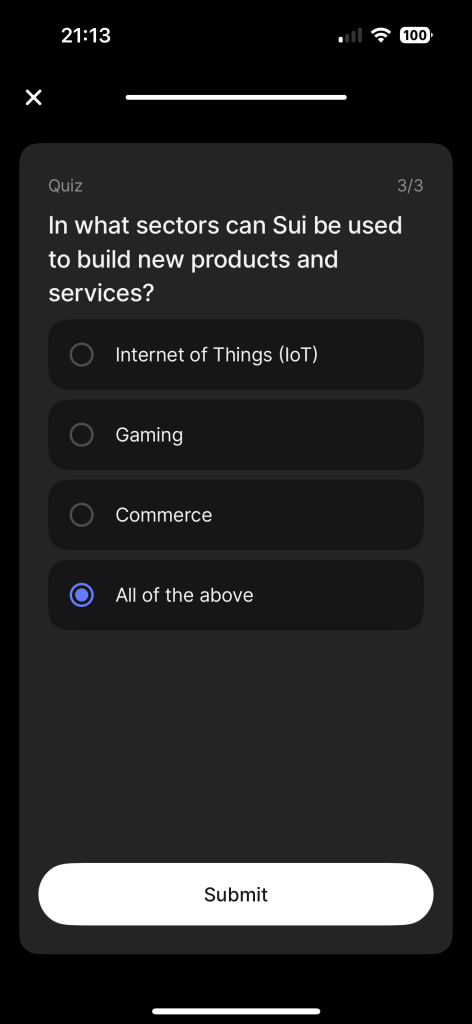
Question 3: In what sectors can Sui be used to build new products and services?
Answer: All of the above
Revolut Learn Quiz: Sui Correct Answers!
Revolut Learn Quiz: Sui Correct Answers!
Revolut Learn Quiz: Sui Correct Answers!
Revolut Learn Quiz: Sui Correct Answers!
Open Revolut Account
From Zero To Millionaire readers can get for free 200 PLN on Revolut using the promo code ‘krzyszb5x!APR2-23-AR‘! All you have to do is: